
· By Aussie Biltong
DIY Biltong: How to Make Perfect Aussie Air-Dried Beef at Home
Want to make restaurant-quality biltong in your own kitchen? You're in for a treat. We're pulling back the curtain on Chef Mark's time-tested process from our Bondi kitchen, giving you the exact techniques that make our premium Australian beef biltong so bloody good.
Here's the truth: making exceptional biltong at home isn't rocket science, but it does require patience and the right approach. Stuff it up, and you'll end up with expensive beef jerky or worse, a moldy mess. Get it right, and you'll have mates begging for your secret recipe.
Why Make Your Own Biltong?
Think store-bought biltong is your only option? Think again. When you make biltong at home, you control everything. The cut quality, the spice blend, the drying time. Plus, there's something deeply satisfying about transforming raw beef into this ancient preserved snack using nothing but salt, spices, and time.
Chef Mark's been perfecting this craft for over a decade, and today you're getting his insider knowledge for free.
The Foundation: Choosing Your Beef
Your biltong is only as good as your beef. Period. Chef Mark swears by topside or silverside cuts from grass-fed Australian cattle. These cuts have the perfect balance of lean meat and marbling that creates tender, flavorful biltong.
What to look for:
- Bright red color with minimal gristle
- Good marbling throughout
- At least 2-3cm thick strips when cut
- Fresh, not frozen (freezing breaks down muscle fibres)
Skip the eye fillet. Save your money. The tougher cuts actually work better for biltong because they hold their structure during the drying process.
Chef Mark's Essential Ingredients
Here's exactly what goes into our small-batch process, scaled for your home kitchen:
For 2kg of beef:
- 2kg topside or silverside, cut into 3cm strips
- 60ml red wine vinegar
- 2 tablespoons coarse sea salt (non-iodised)
- 2 tablespoons coriander seeds, freshly ground
- 1 tablespoon black pepper, cracked
- 1 teaspoon paprika (optional, but recommended)
The secret weapon? Quality coriander seeds toasted and ground fresh. This transforms ordinary biltong into something extraordinary.
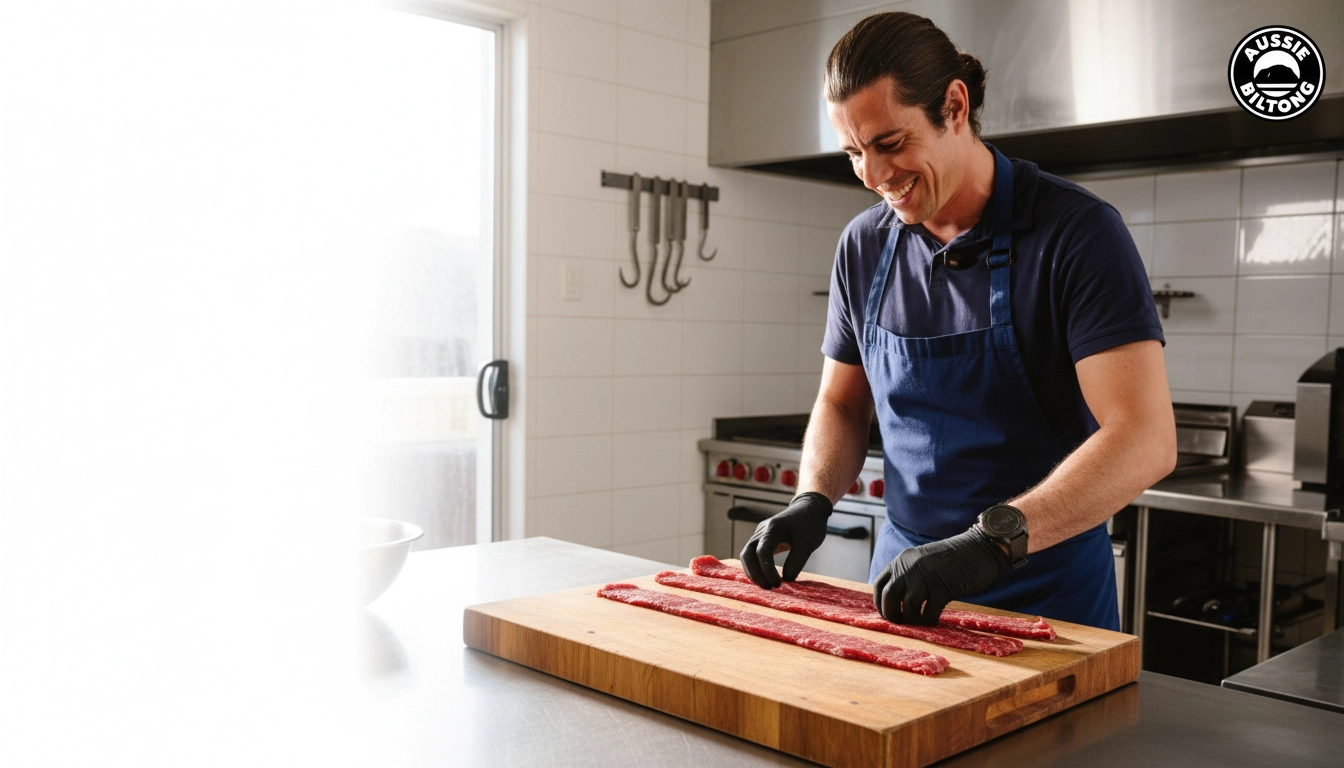
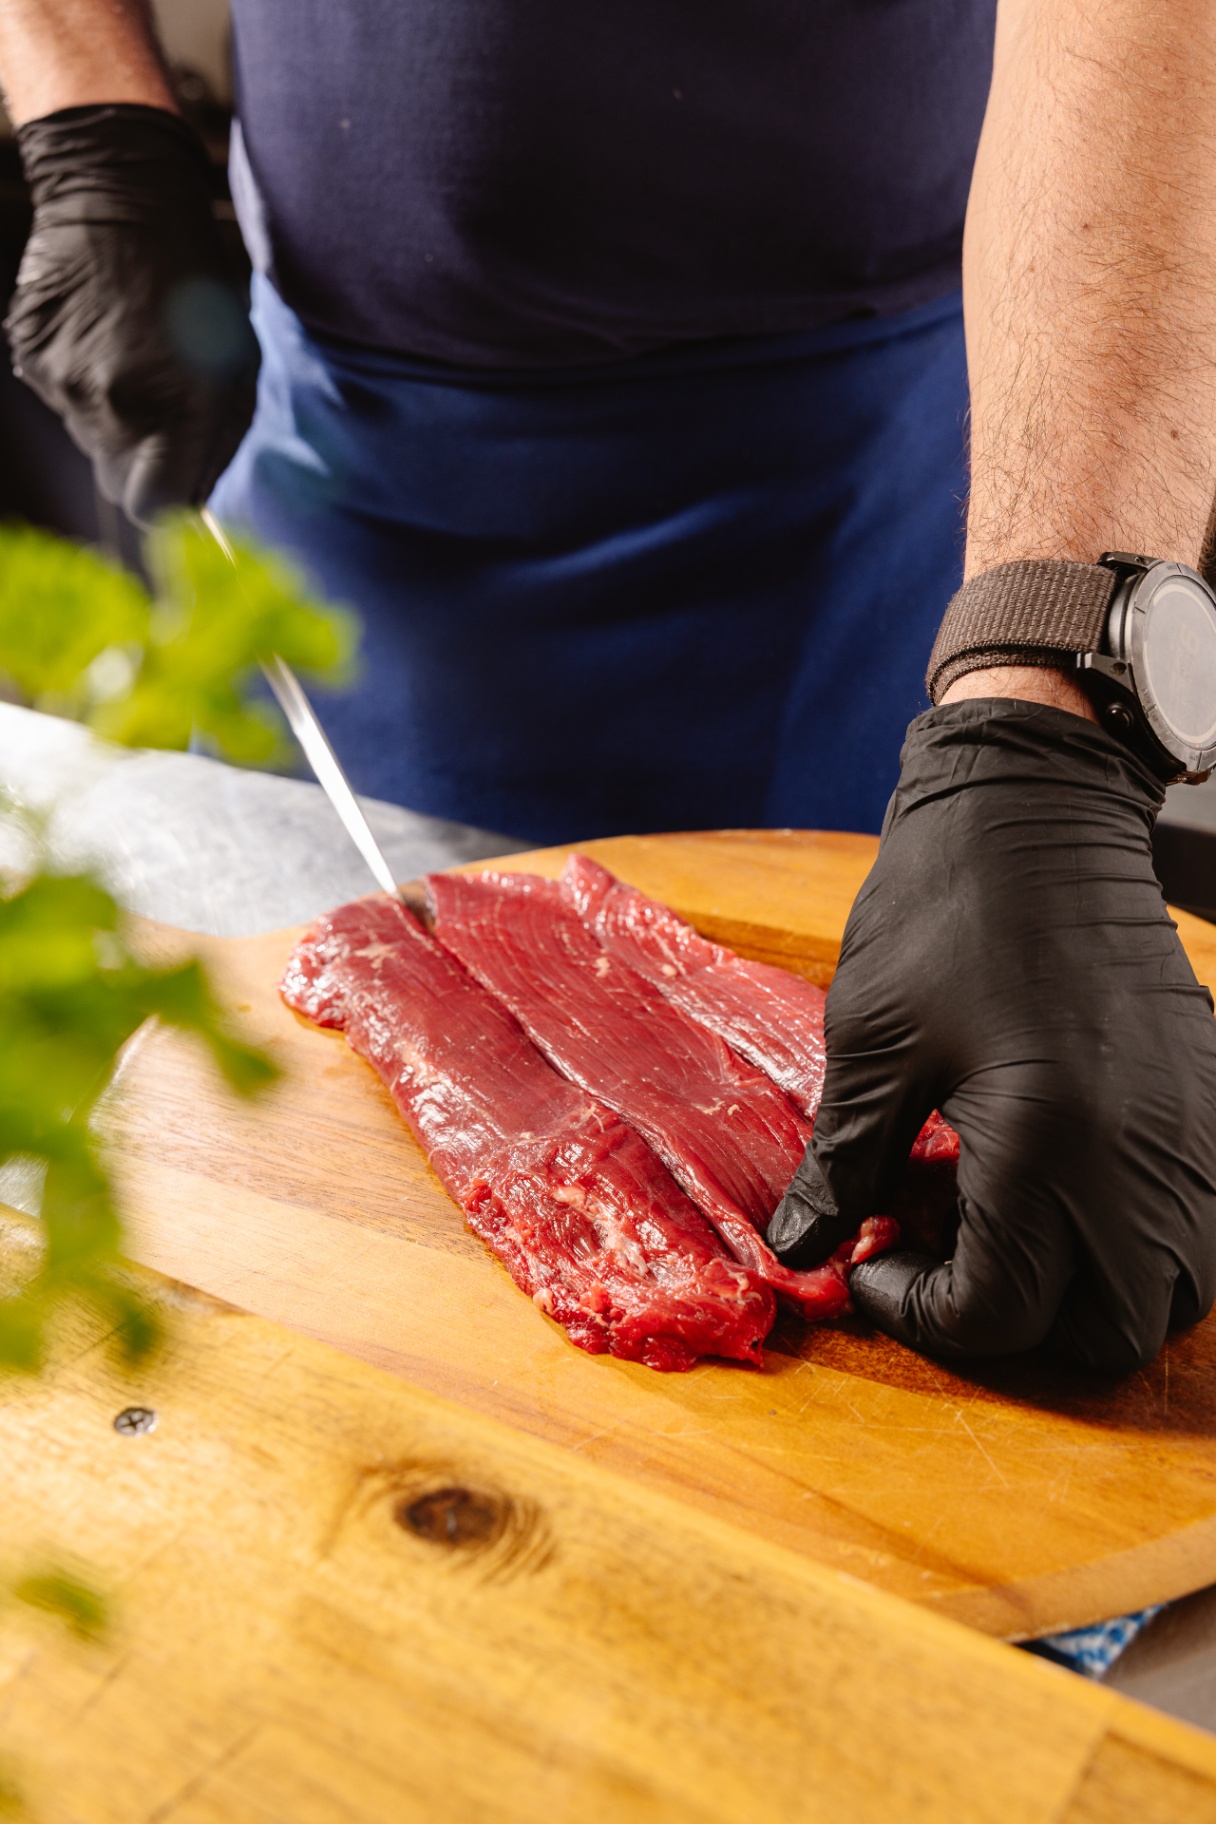
Step 1: Prep Like a Pro

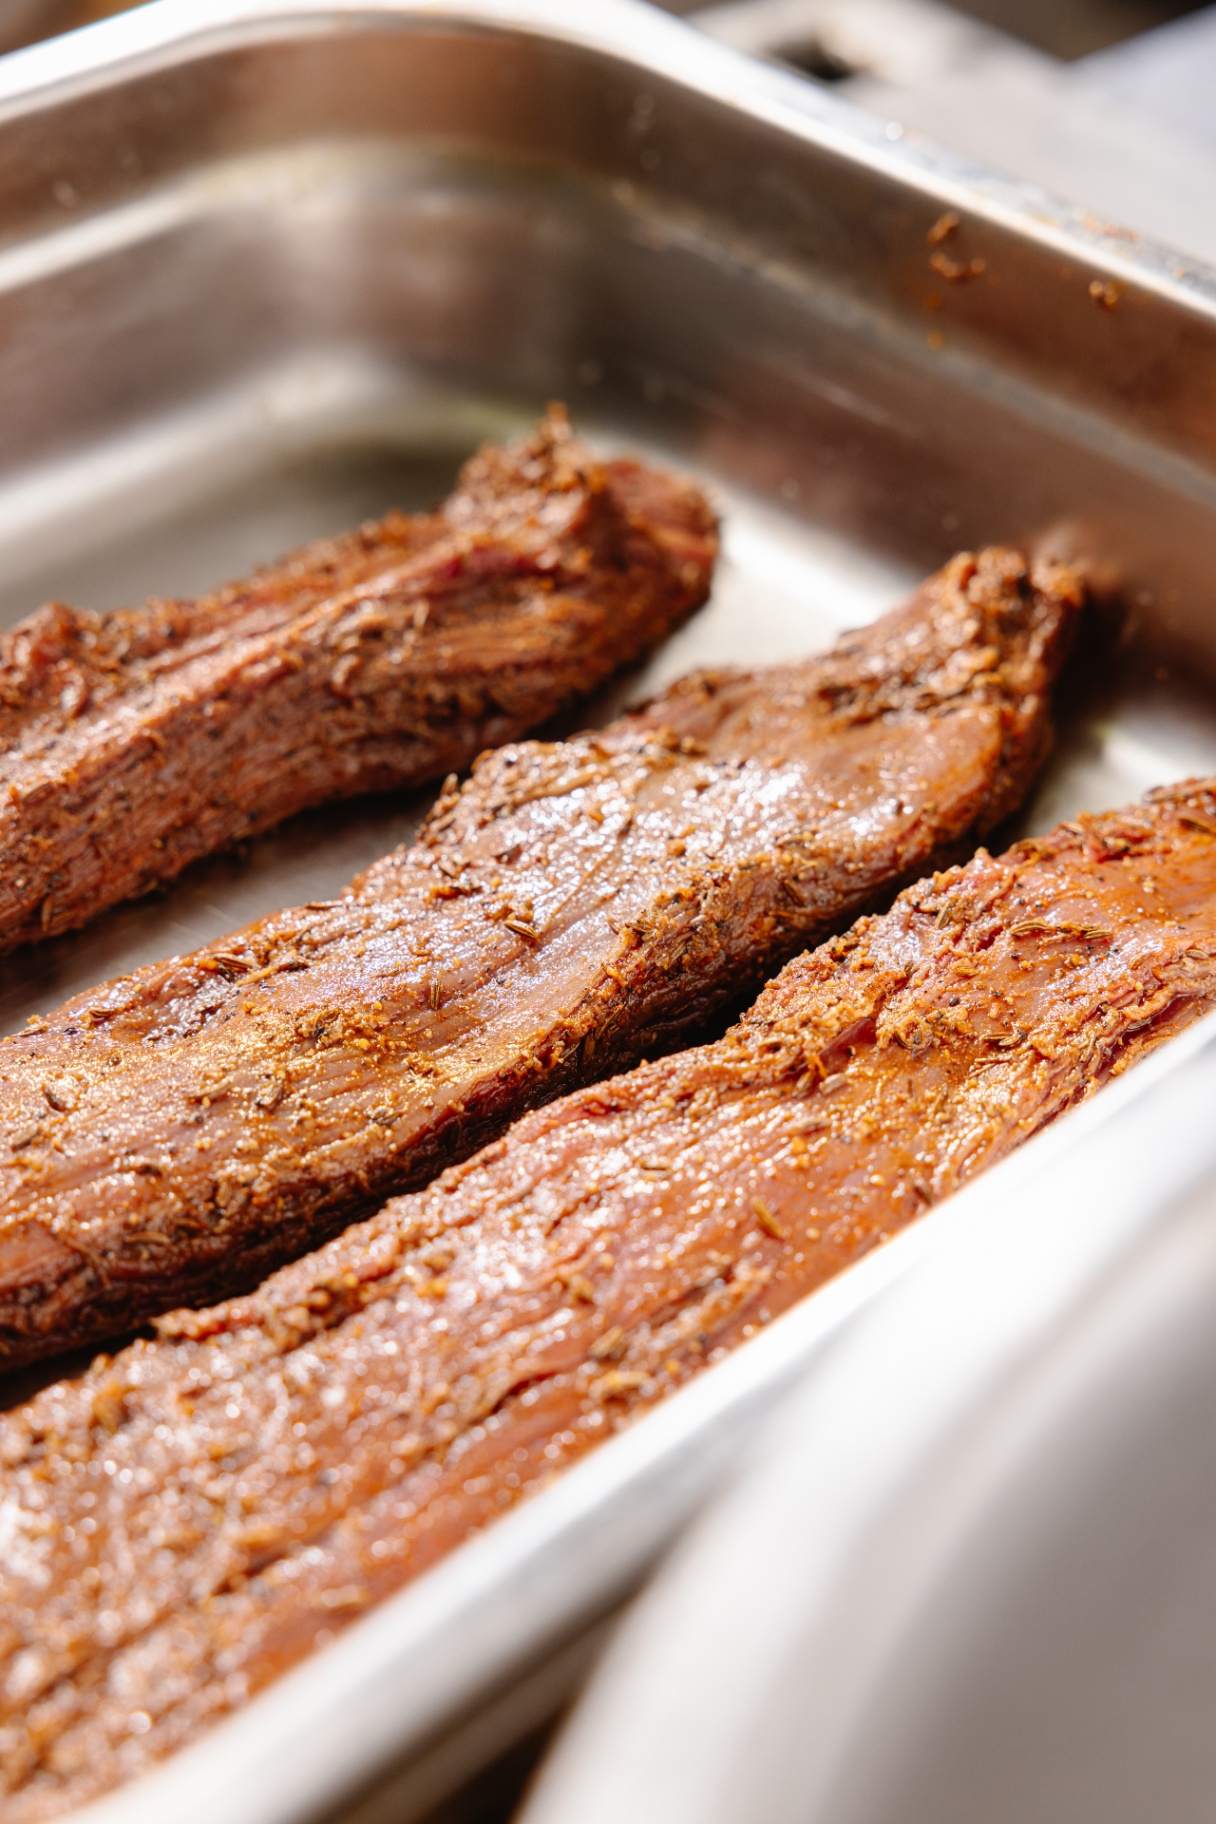
Cut your beef along the grain into strips about 3cm wide and 20cm long. This isn't sandwich meat we're making. Thick strips = better texture and flavor concentration.
Pat each strip dry with paper towel, then sprinkle generously with coarse salt. Let it sit for 2 hours at room temperature. This draws out excess moisture, which is crucial for proper curing.
While your beef is salting, toast those coriander seeds in a dry pan until fragrant. Grind them coarsely. You want texture, not powder.
Step 2: The Marinade Magic
Mix your vinegar with the ground coriander, pepper, and paprika. This isn't just flavoring. The acid in the vinegar helps preserve the meat and creates that distinctive biltong tang.
Rinse the salt off your beef strips and pat dry. Now comes the fun part. Get your hands dirty and massage that spice mix into every surface of the meat. Really work it in. This is where the flavor magic happens.
Cover and refrigerate for 24 hours minimum. 48 hours is even better if you can wait.
Step 3: The Drying Setup
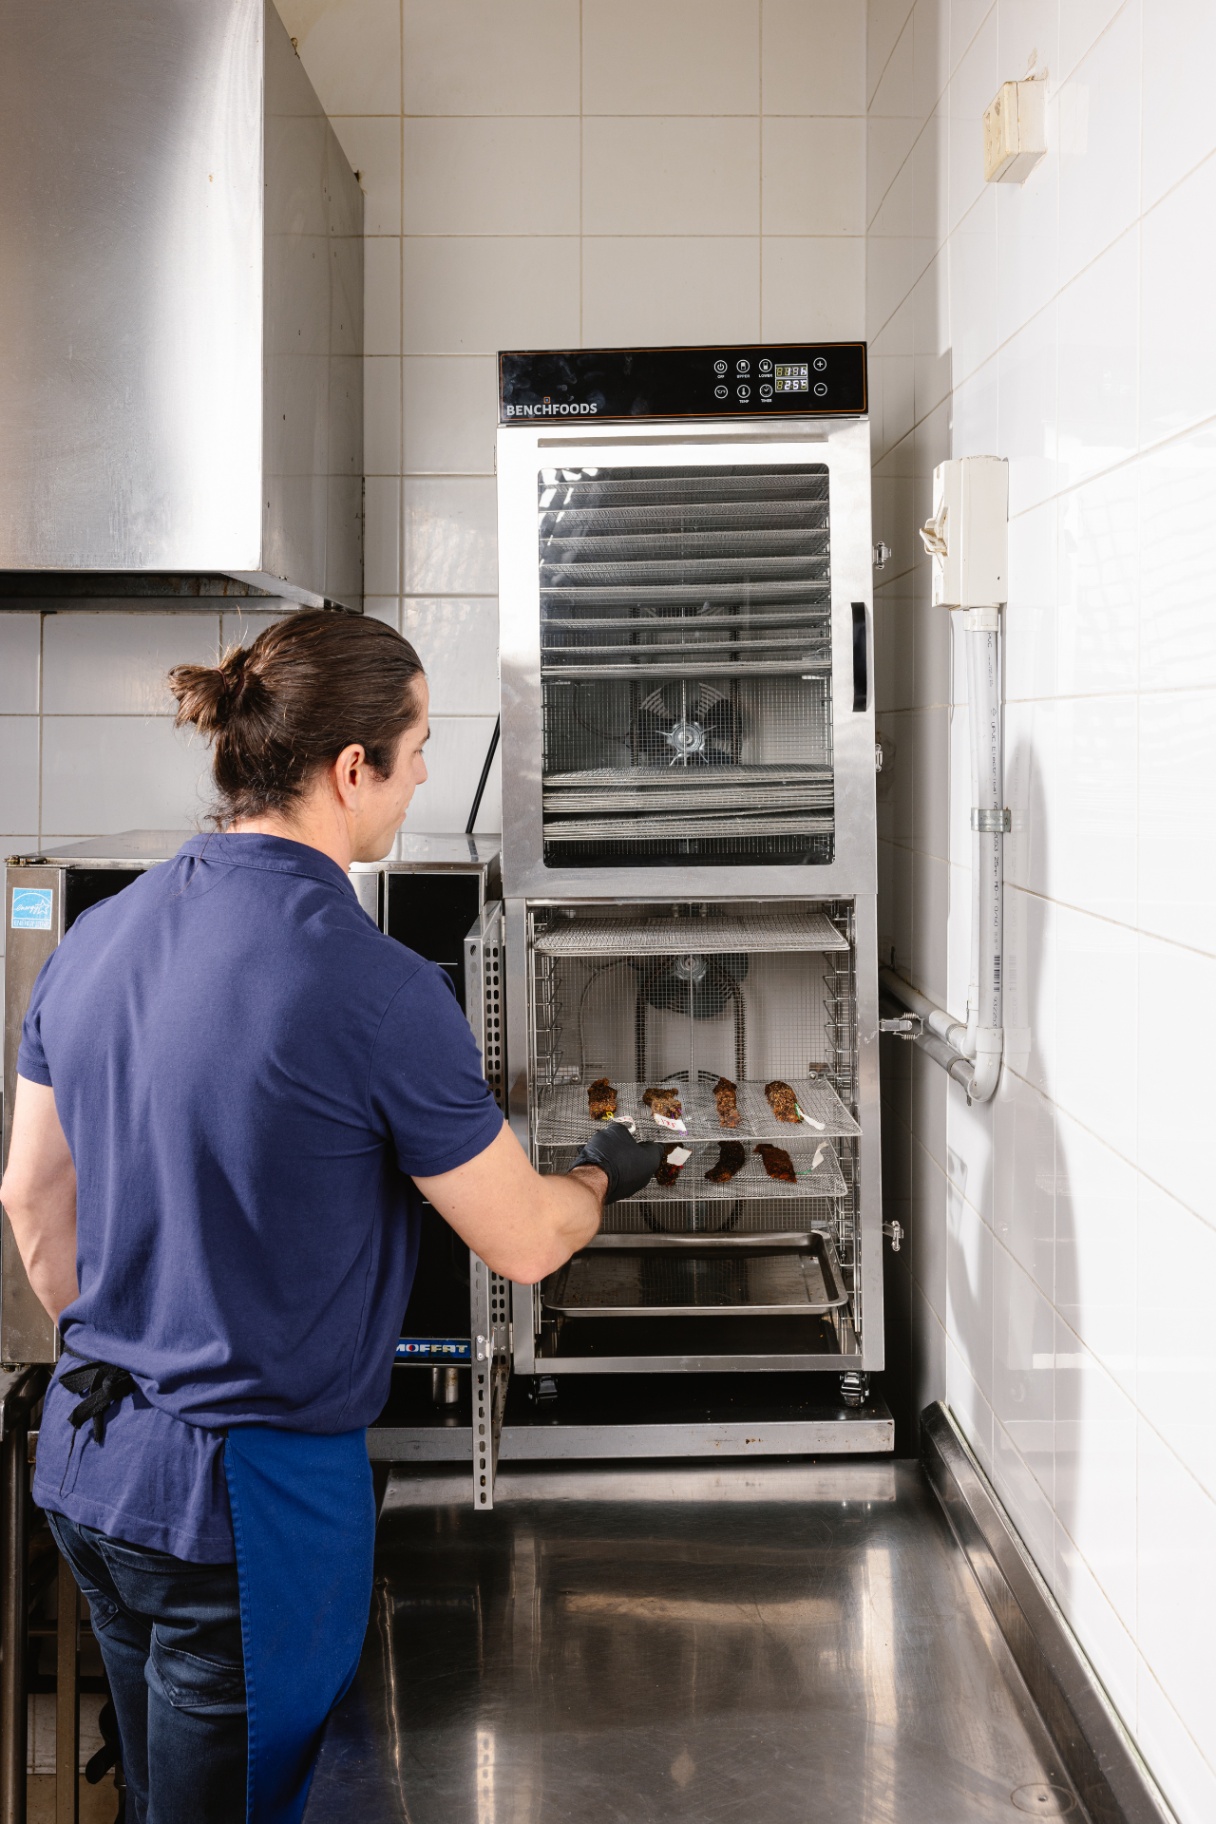
Here's where most home attempts fail. Temperature control and airflow are everything. You need consistent temperatures between 18-30°C and gentle air circulation.
Option 1: Dehydrator Method (Easiest)
Set your dehydrator to 60°C for the first 4 hours, then drop to 30°C. Total drying time: 12-24 hours depending on thickness.
Option 2: DIY Fan Setup
Hang strips from a wooden rack near a window with a small fan creating gentle airflow. This takes 4-6 days but gives you more control over the process.
Option 3: Oven Method (Last Resort)
Lowest possible temperature with the door slightly open. Not ideal, but it works in a pinch.
Step 4: Patience Pays Off
This is where discipline matters. Check your biltong daily, but resist the urge to speed things up with higher heat. Good biltong can't be rushed.
You'll know it's ready when:
- It feels firm but slightly flexible
- The outside has developed a darker crust
- It doesn't leave moisture on your fingers when squeezed
Depending on your setup and local humidity, this takes anywhere from 3-7 days.
The Final Test: Slicing and Tasting
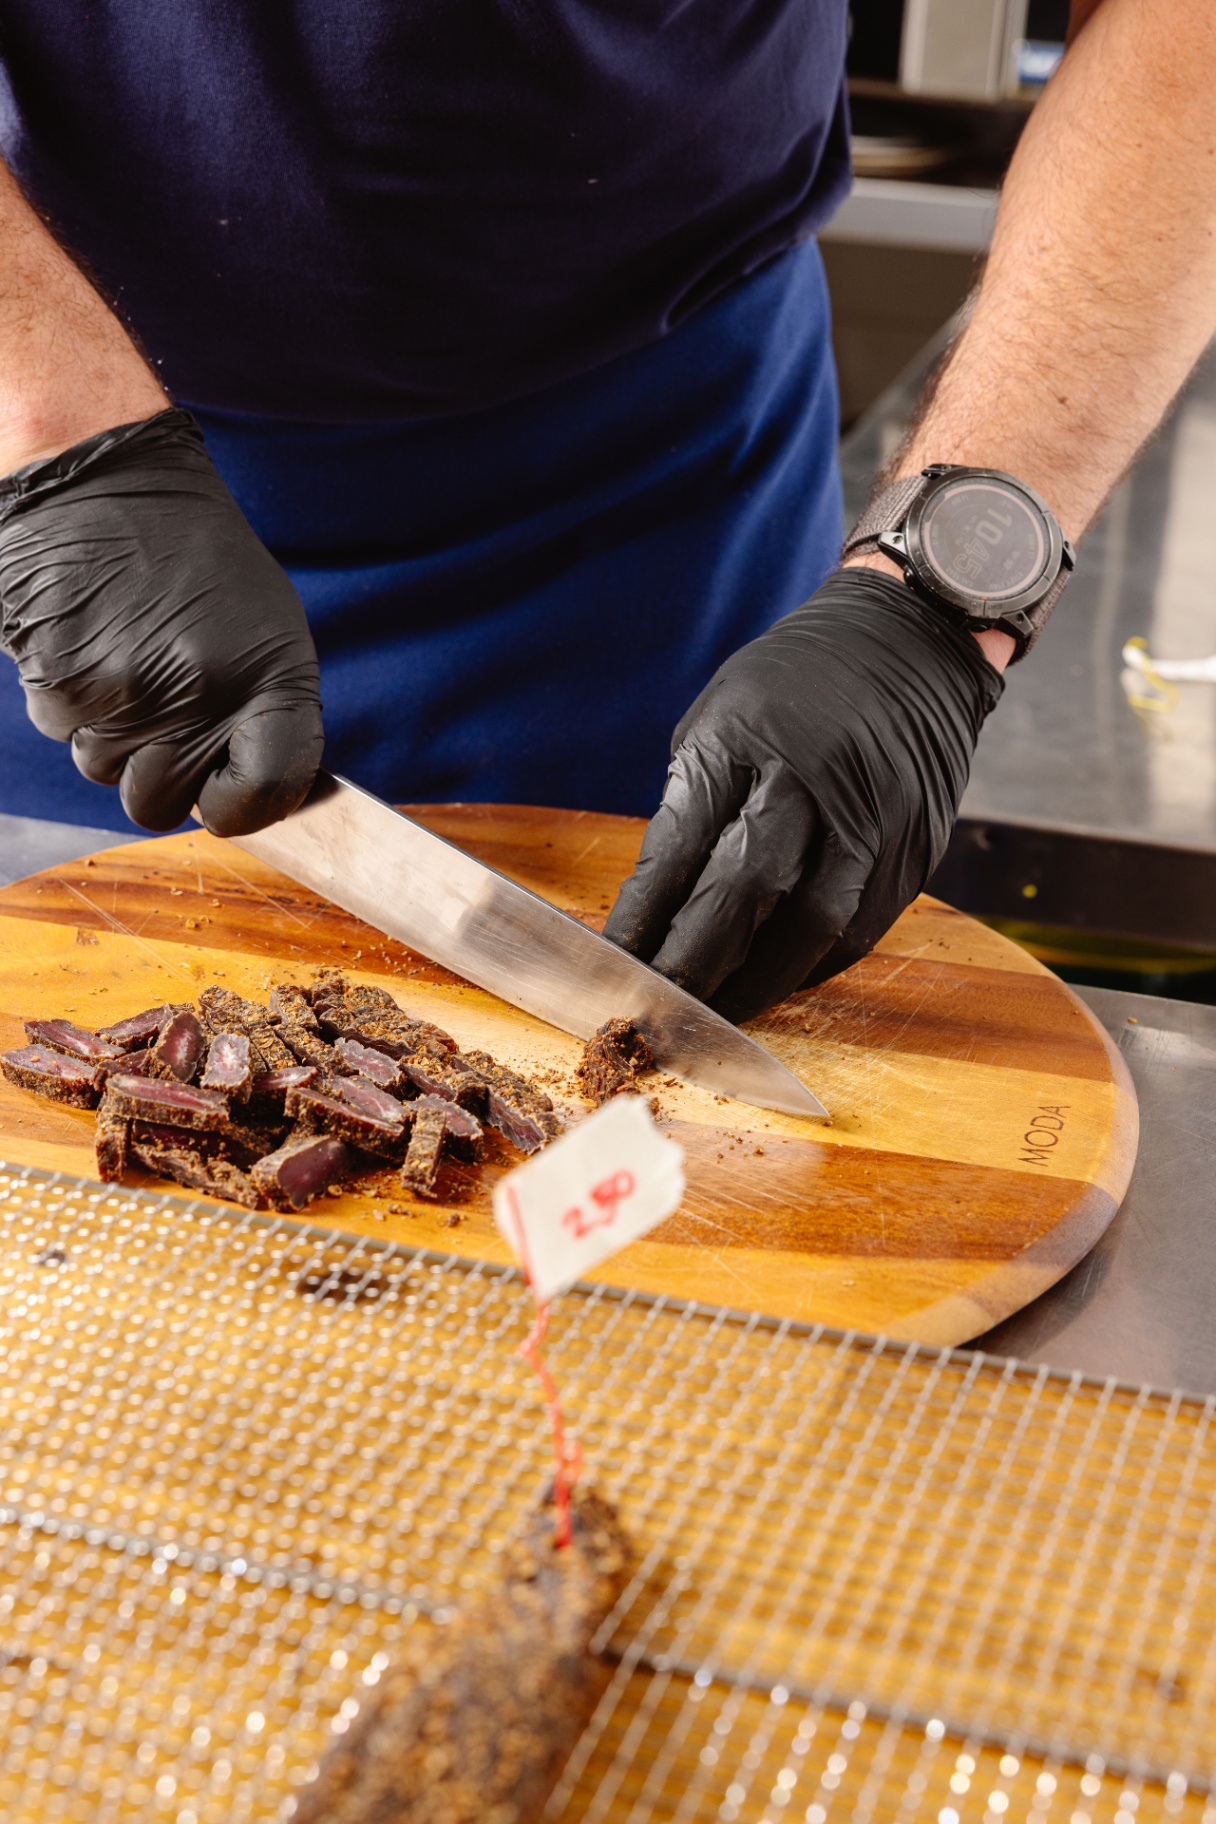
Your first slice tells the story. Good homemade biltong should have a slight give when you bite into it, with concentrated beef flavor and a balanced spice coating.
Slice across the grain for easier chewing, or with the grain if you prefer a more substantial chew.
Storing Your Homemade Treasure
Properly made biltong keeps for weeks at room temperature in an airtight container. In humid climates, store it in the fridge to prevent any unwanted mold development.
How Does Your DIY Stack Up?
Making biltong at home is rewarding, but let's be honest. It takes time, equipment, and quite a few attempts to nail the perfect texture and flavor balance that we've spent years perfecting.
If your homemade batch doesn't quite hit the mark, don't stress. Even Chef Mark's early attempts weren't perfect. That's why we've spent over a decade perfecting our small-batch process using premium Australian grass-fed beef and traditional South African techniques.
Pro Tips from Chef Mark's Kitchen
- Room temperature matters: Cold meat doesn't absorb spices properly
- Don't rush the cure: 24 hours minimum, 48 hours is better
- Airflow beats heat: Gentle circulation trumps high temperatures every time
- Trust the process: Good biltong takes time, period
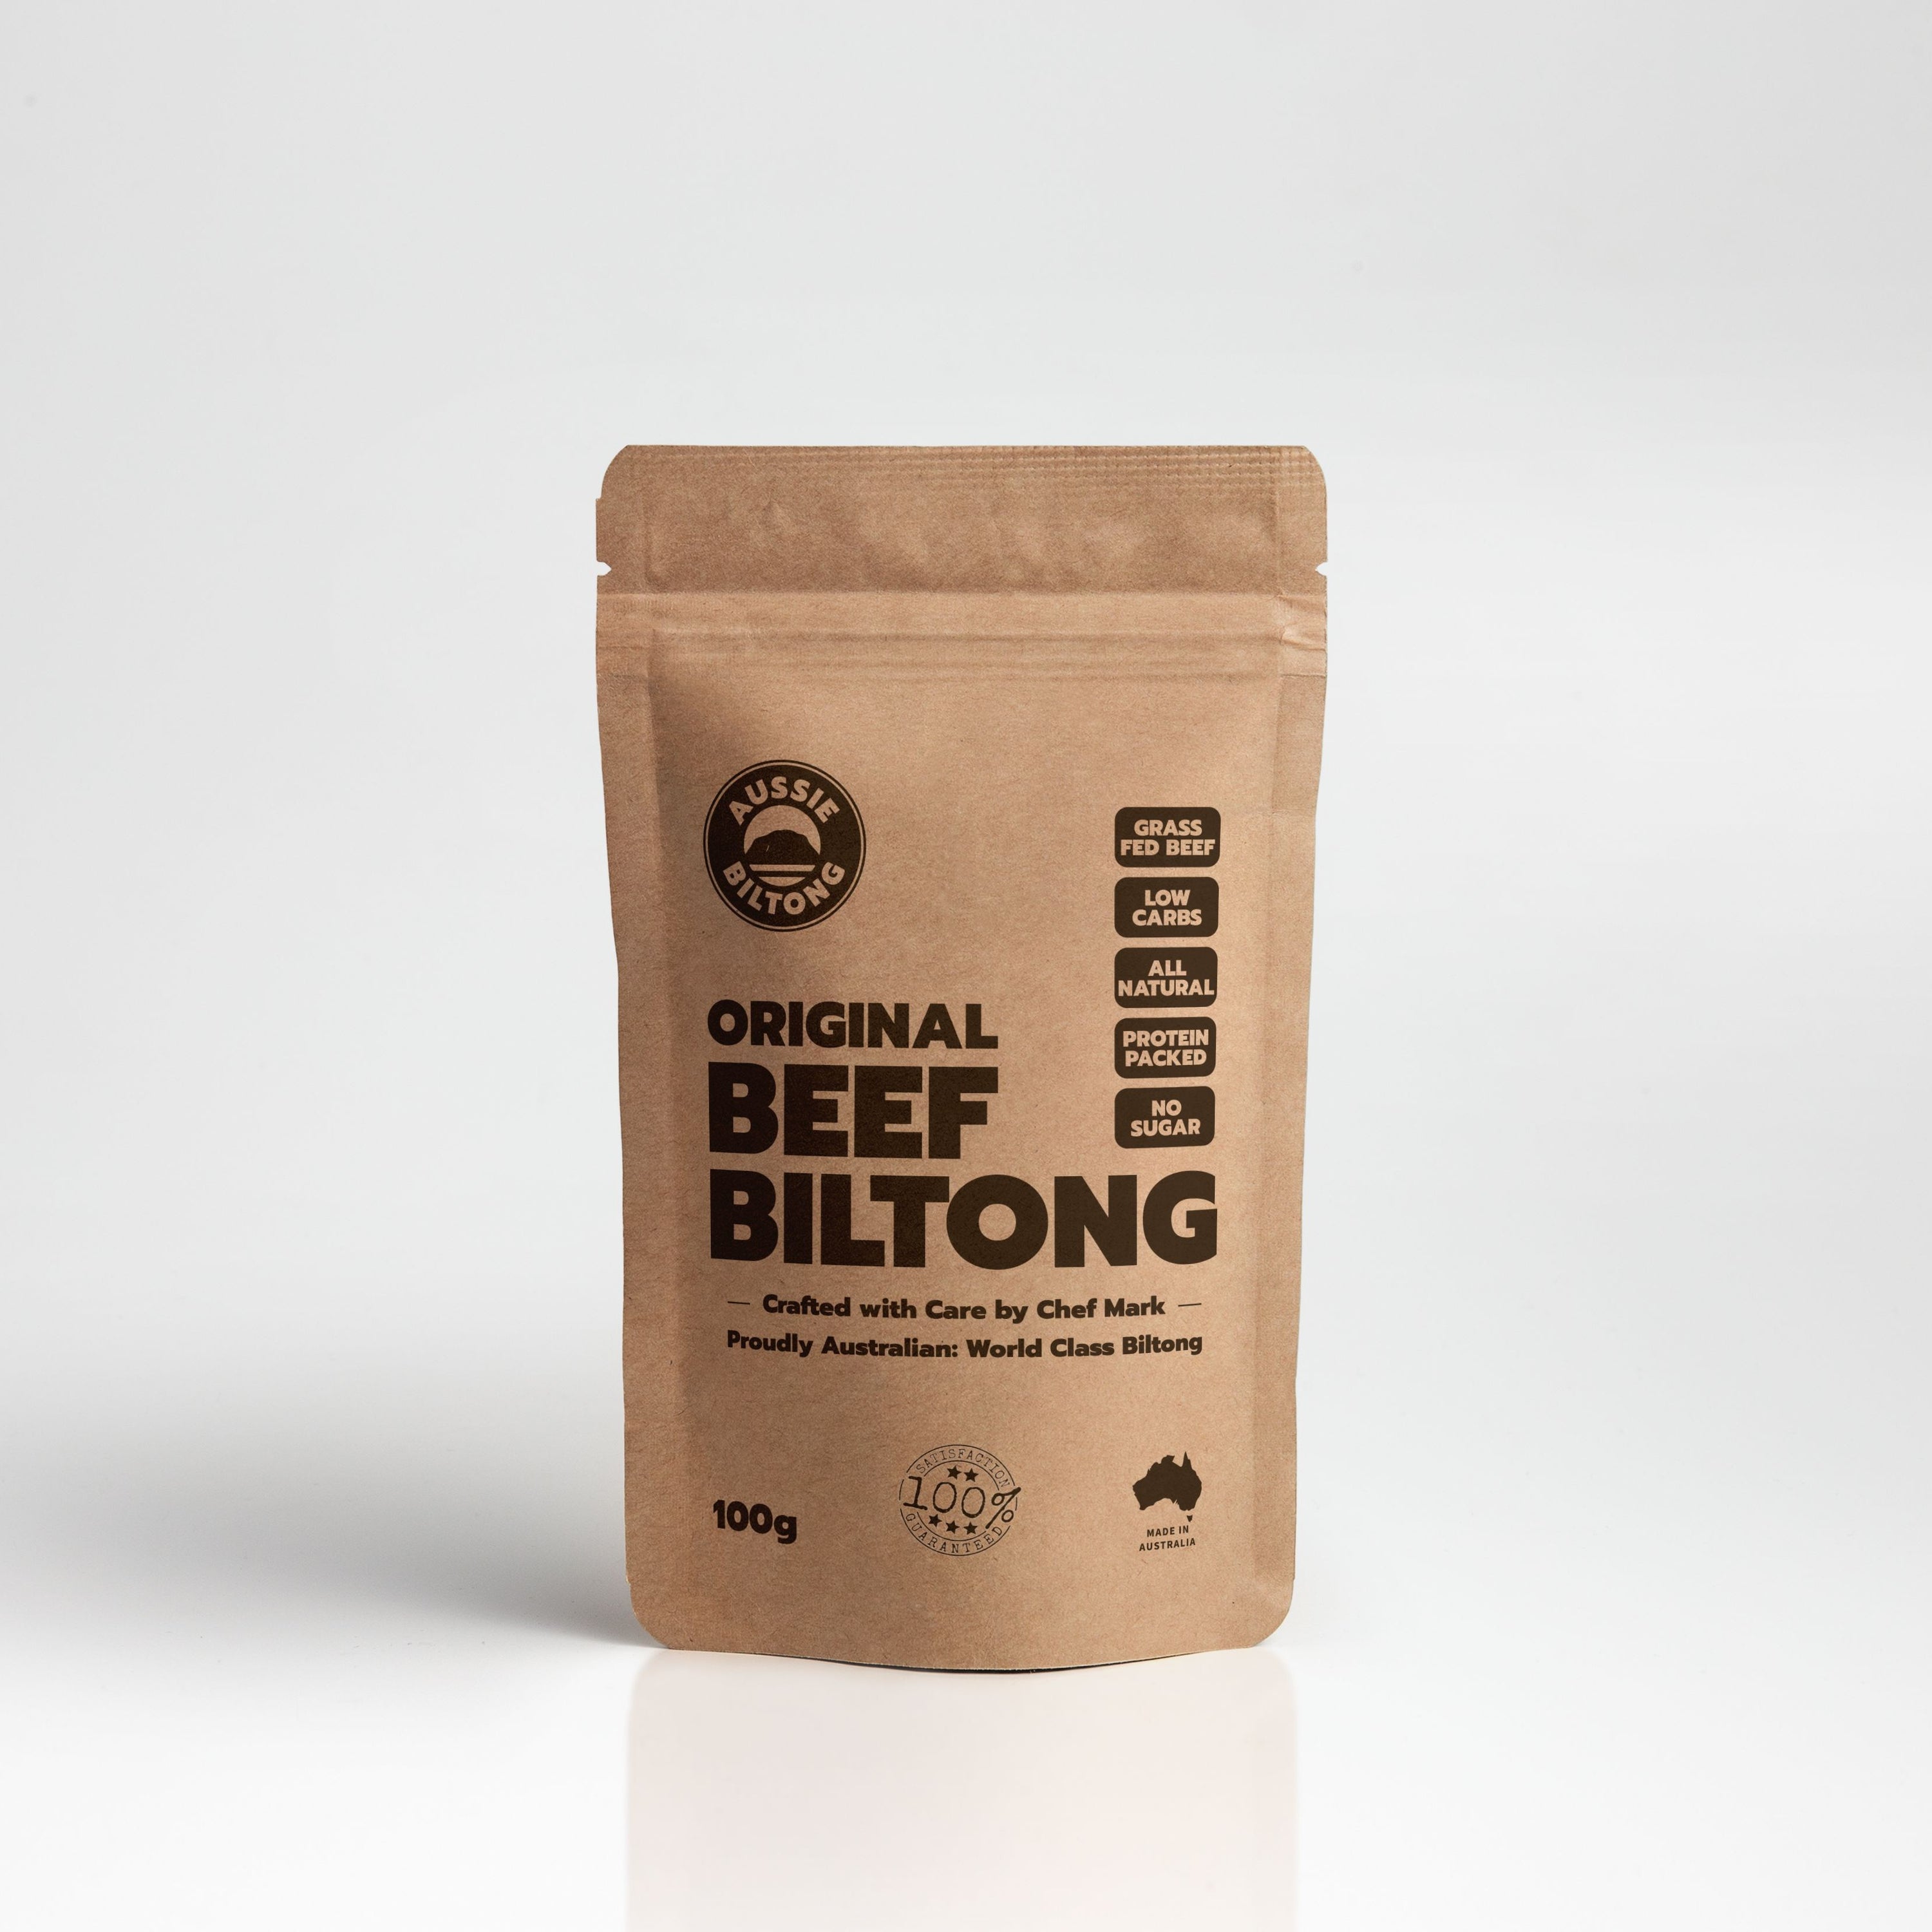
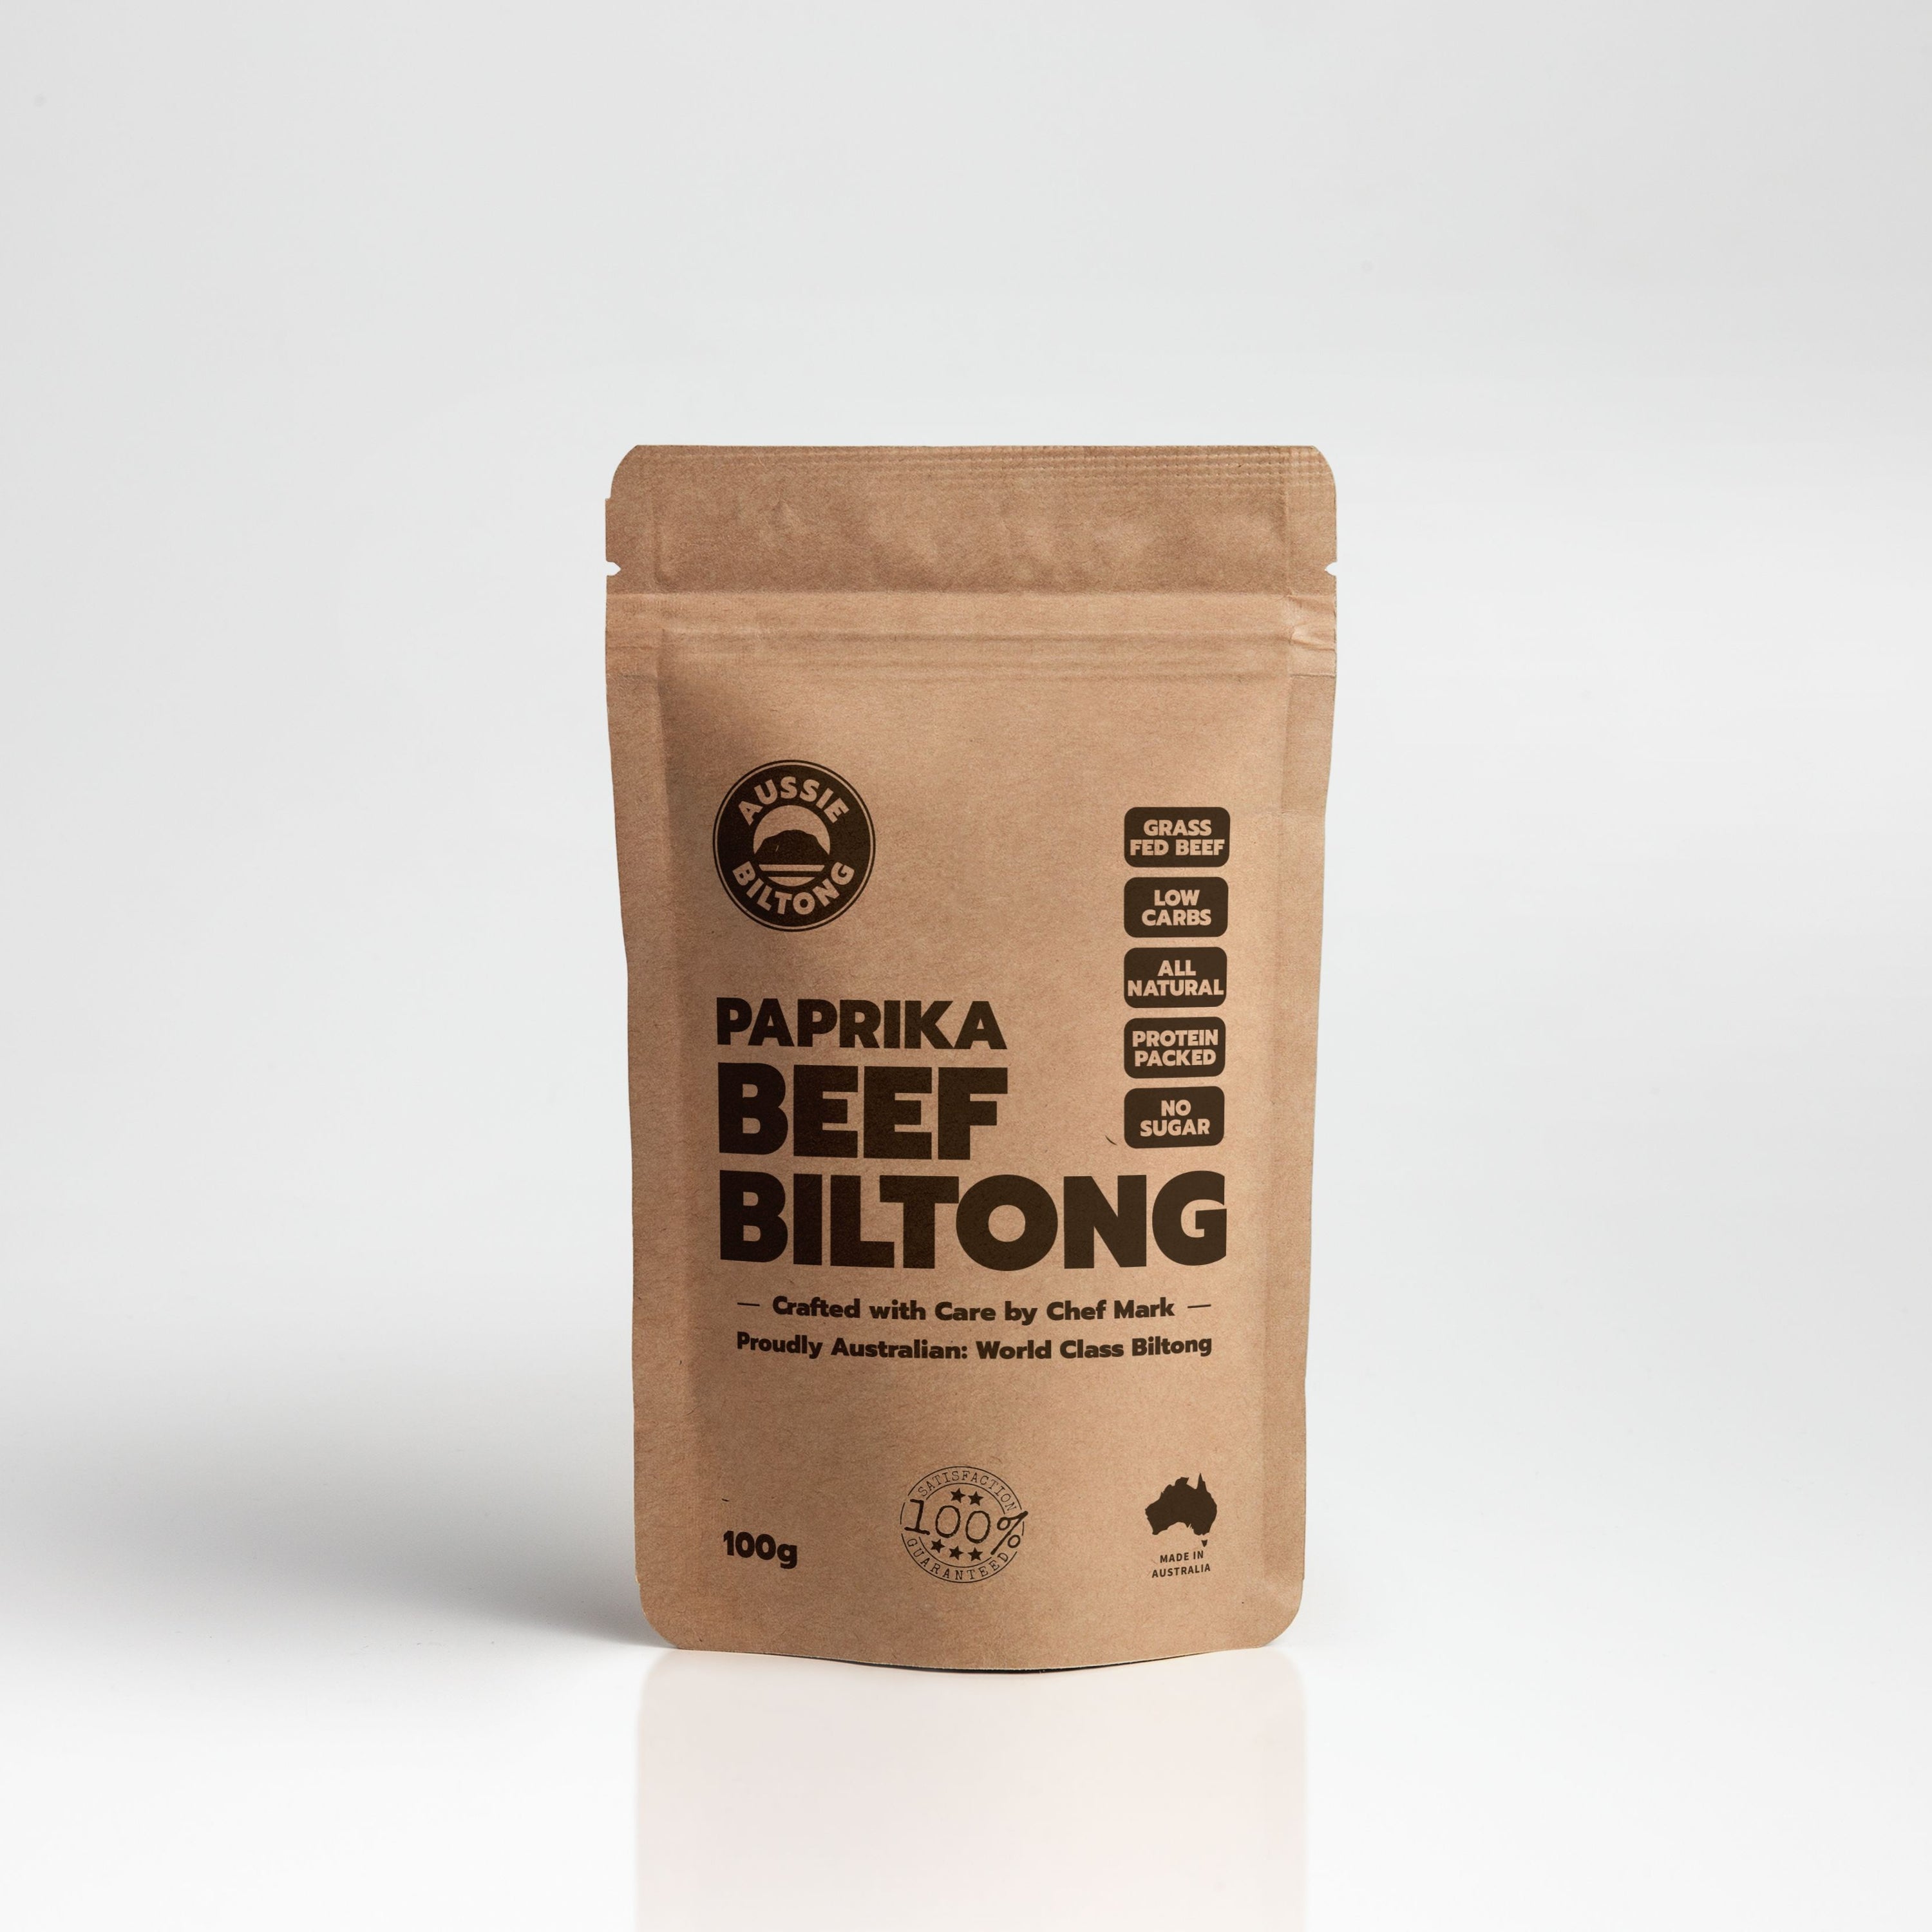
Want to compare your homemade results against the gold standard? Try our Original Beef Biltong or Paprika variety to see how your kitchen creation measures up.
Making biltong at home connects you to an ancient preservation tradition while giving you complete control over your snack. Whether your DIY batch turns out perfect or needs some tweaking, you'll have gained respect for this time-honored craft.
And if all else fails, we'll be here with our perfectly dried, consistently delicious biltong ready to ship straight to your door.